AC Installation in Apollo Beach, FL

Why a tailored AC installation matters in Apollo Beach, FL
Apollo Beach homes face hot, humid summers, high outdoor dew points, and salt air from Tampa Bay. Those factors increase cooling loads, accelerate outdoor unit corrosion, and make reliable condensate management essential to prevent mold. A professional installation that includes accurate load calculations, corrosion-resistant details, and compliance with local building codes delivers better comfort, efficiency, and long-term reliability for coastal Florida conditions.
Common AC installation needs and issues in Apollo Beach
- Home feels unevenly cooled or high indoor humidity
- Old or undersized equipment struggling with peak summer heat
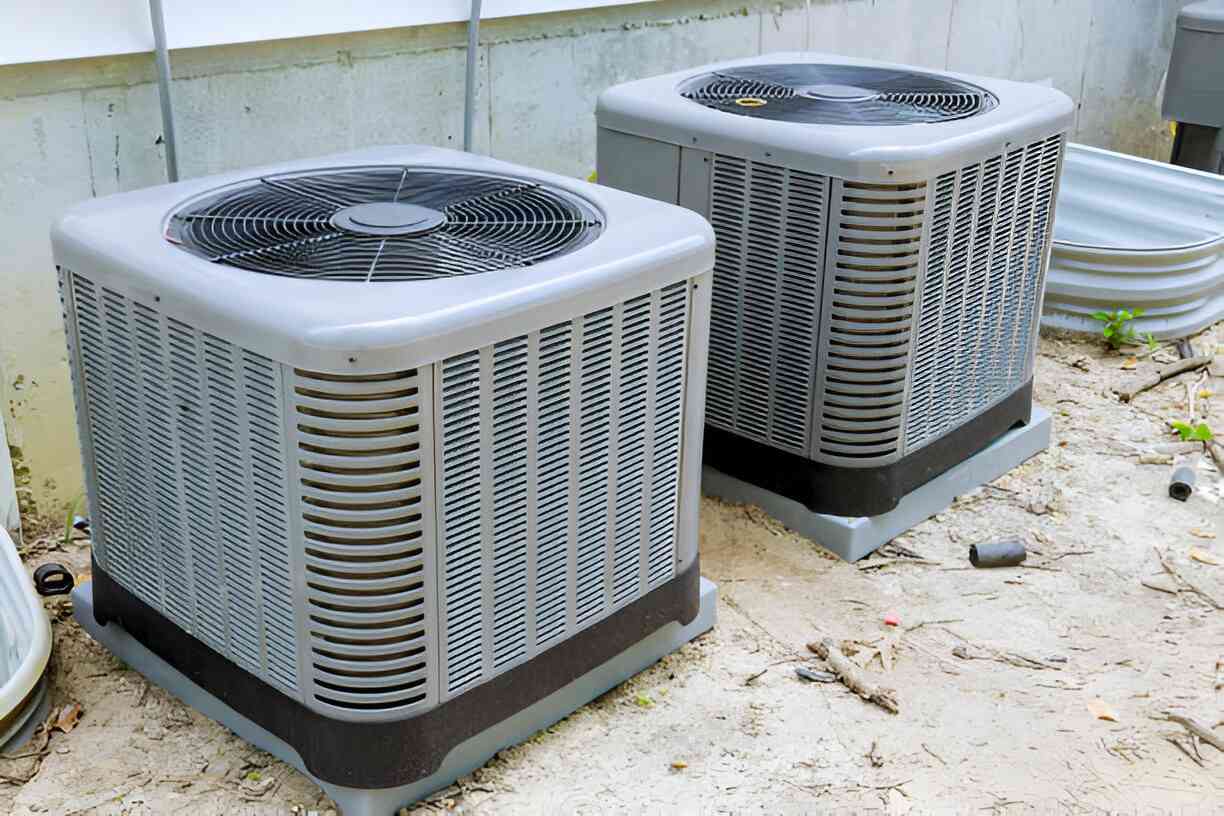
- Corrosion or shortened outdoor unit lifespan from salt exposure
- Homes without ductwork or with leaky ducts in unconditioned attics
- Frequent short-cycling from oversized systems
- Poor condensate drainage and mold risks in humid climates
Site evaluation and load calculations
A thorough site evaluation is the first step:
- Inspect home orientation, insulation, window sizes, shading, attic ventilation, and existing ductwork.
- Measure conditioned square footage and room-by-room characteristics.
- Perform Manual J load calculations to determine accurate cooling capacity needs. Manual J accounts for solar gain, humidity, occupancy, and local climate factors specific to Apollo Beach.
- Evaluate duct system with a Manual D assessment if installing central air, or determine interior unit locations for ductless systems.
- Accurate calculations prevent common issues like undersizing (insufficient cooling) or oversizing (short cycling and humidity control problems).
Comparing system types: central vs ductless vs split systems
- Central air (split system with ducts): Best for whole-house comfort when existing ducts are in good condition. Offers consistent airflow and centralized filtration. In Apollo Beach, protect outdoor condensers from salt and consider higher-efficiency units to offset continuous cooling demand.
- Ductless mini-split: Ideal for homes without ducts, additions, or room-by-room zoning. Faster installation with minimal structural changes. Good humidity control and energy savings for targeted cooling zones. Outdoor unit still susceptible to coastal corrosion—choose protective measures.
- Packaged systems: Less common in single-family homes but useful for compact spaces or rooftop applications.
- Heat pumps (often used in place of traditional AC in Florida): Provide both cooling and heating efficiently and remain the dominant choice in mild-winter climates like Apollo Beach.
Pros and cons summary:
- Central air: whole-home comfort, needs good ducts, longer install if ductwork replaced.
- Ductless: flexible zoning, lower installation impact, may be costlier per ton for whole-home coverage.
- Heat pump: year-round efficiency, common in Florida.
Installation steps and contractor workflow
- Final equipment selection based on load calculations and site constraints.
- Prepare site and obtain required permits (see next section).
- For central systems:
- Inspect and repair or replace ductwork as needed.
- Install outdoor condensing unit on a pad with corrosion-resistant fasteners and adequate clearance.
- Mount indoor coil/air handler and connect refrigerant lines, drain, and controls.
- Seal and insulate refrigerant lines and ducts.
- For ductless systems:
- Select indoor unit locations for airflow and aesthetic considerations.
- Install outdoor/compressor unit and refrigerant/condensate piping through small wall penetrations.
- Electrical integration and dedicated circuit installation.
- System evacuation, refrigerant charge, and initial startup.
- Commissioning and homeowner handover (controls, thermostat programming, maintenance basics).
Permits and inspections in Apollo Beach
AC installations in Apollo Beach require compliance with Florida building codes and local Hillsborough County permitting and inspection processes. Typical requirements:
- Mechanical permit for new systems or replacements
- Electrical and possibly structural permits for new openings or roof penetrations
- Final inspection by the building department to confirm code compliance
- Permit timelines vary; allow for local review periods and scheduled inspections when estimating the project schedule.
Expected timelines
- Site evaluation and load calculations: same day to a few days
- Permit application and approval: typically 1 week to several weeks depending on local workload
Installation:
- Ductless mini-split (single zone): 4 to 8 hours
- Ductless with multiple zones or central air with existing ducts: 1 to 2 days
- Full central system with new ductwork: 3 to 5 days or more
- Final inspection and commissioning: scheduled after installation, often same-day inspection or within a few days
- Total typical timeline: 2 weeks to 6 weeks from evaluation to final sign-off, depending on permit speed and scope.
Quality assurance and testing checklist
A professional installation includes measurable checks to ensure performance:
- Verify refrigerant charge and match to manufacturer specifications
- Test airflow and static pressure across the system
- Measure supply and return temperatures to confirm cooling delta T
- Check duct leakage and seal if necessary
- Confirm condensate drain flow and use of traps or pumps where required
- Inspect electrical connections, breaker sizing, and safety controls
- Verify thermostat calibration and control logic
- Ensure outdoor unit clearance, proper elevation (to avoid flooding issues), and corrosion mitigation measures
Handover instructions and homeowner guidance
At completion, homeowners should receive:
- Equipment manuals and warranty registration information
- System specifics: model numbers, refrigerant type, and outdoor unit location
- Recommended filter size and replacement schedule
- Thermostat programming guidance for comfort and efficiency
- Explanation of any added corrosion protection, condensate pump locations, or special maintenance needs for coastal conditions
- A seasonal maintenance checklist
Maintenance tips for Apollo Beach homes
- Replace or clean filters every 1 to 3 months during heavy use.
- Schedule professional tune-ups at least once a year; in coastal areas, consider twice-yearly inspections for corrosion control and refrigerant checks.
- Keep outdoor unit free of debris and rinse salt buildup periodically with fresh water (avoid direct forceful spray on fins).
- Ensure condensate drain lines are clear and use a biocide tablet or professional cleaning to prevent clogs and mold.
- Seal and insulate ducts in unconditioned attics to reduce heat gain and humidity problems.
- Consider a high-efficiency, corrosion-resistant outdoor unit and protective coatings for longer life in salt-air environments.
- Use programmable or smart thermostats to reduce runtime during unoccupied hours while maintaining humidity control during Florida's muggy months.
Final benefits of a professional, code-compliant installation
A correctly sized and installed system in Apollo Beach provides consistent comfort, better humidity control, lower energy costs, and longer equipment life despite coastal conditions. Accurate load calculations, proper ductwork handling, corrosion-aware installation practices, and compliance with local permits and inspections protect your investment and ensure reliable performance through hurricane seasons and high-usage months. Regular maintenance tailored to Apollo Beach’s climate preserves efficiency and indoor air quality over time.

Service Areas
