AC Installation in Winter Haven, FL

Why a proper installation matters in Winter Haven
Winter Haven homes face unique cooling demands. High outdoor temperatures and humidity increase cooling loads and stress equipment. Improper sizing or poor ductwork can cause short cycling, poor dehumidification, uneven temperatures, and premature failure. A correctly designed and installed system tailored to local climate and building characteristics delivers reliable comfort, lower utility bills, and longer equipment life.
Common AC types and common installation issues in Winter Haven
Common systems for local homes include:
- Central split systems (condenser outside, air handler or furnace inside)
- Heat pump systems for year-round comfort and efficiency
- Ductless mini-split systems for room-specific cooling
- High-efficiency variable-speed systems for improved dehumidification
Typical installation problems seen in the area:
- Oversized or undersized equipment leading to short cycling or insufficient cooling
- Inadequate return airflow or leaky ducts reducing efficiency and comfort
- Poorly installed condensate drains that cause water damage or mold in humid climates
- Lack of surge protection and improper electrical upgrades for homes with aging panels
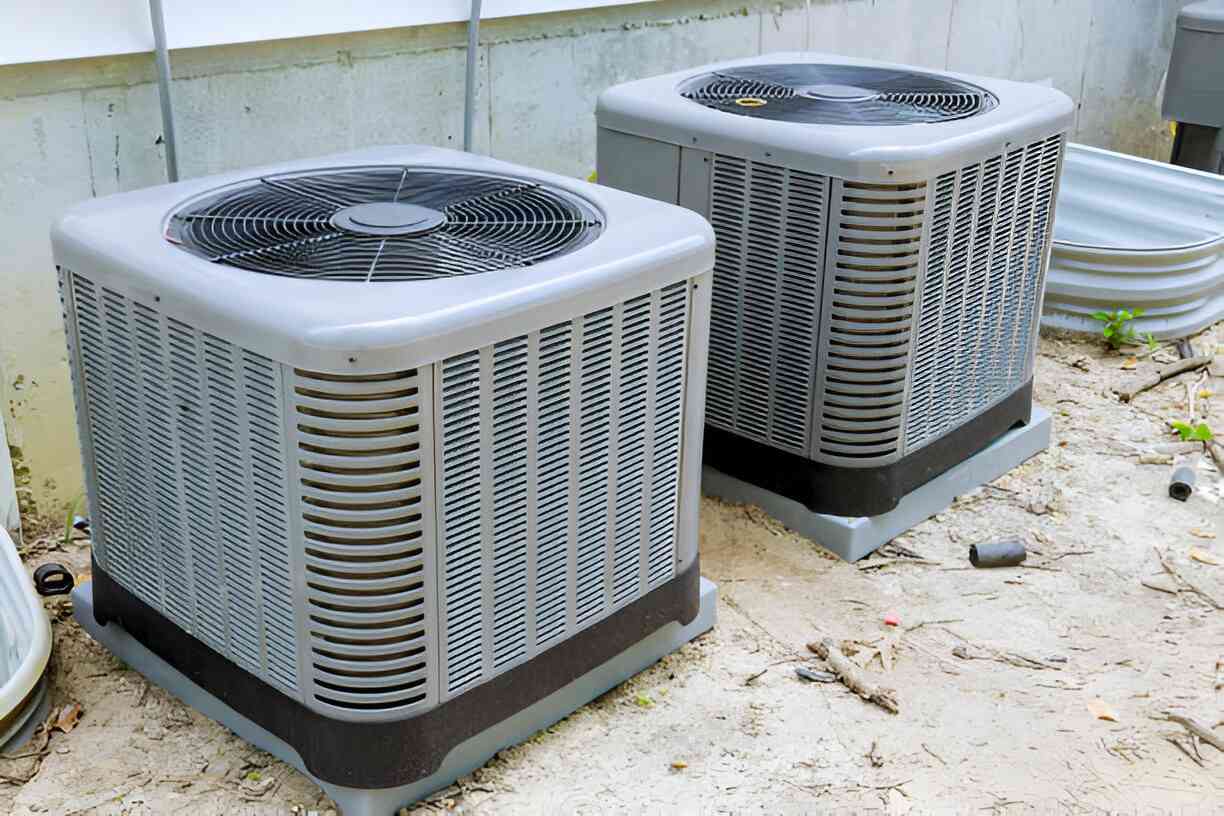
- Improper outdoor unit placement subject to flooding, poor airflow, or storm damage
Pre-installation site assessment
A thorough site assessment prevents surprises and sets the stage for a successful installation. Key steps include:
- Performing a Manual J heat load calculation to determine correct system capacity
- Inspecting existing ductwork for leaks, insulation, and proper sizing
- Evaluating attic insulation, window solar gain, and shading that affect load
- Checking the electrical service, panel capacity, and breaker compatibility for new equipment
- Locating an optimal outdoor unit placement: allowing clear airflow, preventing flood or storm vulnerability, and minimizing noise to neighbors
- Verifying local permitting requirements and homeowners association rules
The assessment should also consider Winter Haven-specific factors like lake-driven humidity, summer storm surge potential, and the benefits of shading from mature trees.
System selection and sizing
Choosing the right equipment is about more than SEER ratings. Factors to consider:
- Accurate tonnage based on Manual J calculations to avoid short cycling or underperformance
- SEER and HSPF ratings balanced against expected usage and budget
- Variable-speed compressors and ECM blowers for better humidity control and comfort
- Appropriate refrigerant type and future-proofing for refrigerant availability
- Ducted vs ductless solutions depending on home layout and retrofit constraints
- Features like two-stage compressors, variable airflow, and advanced controls for humid climates
In Winter Haven, systems that emphasize dehumidification and variable speed operation provide the best year-round comfort.
Step-by-step installation process
A professional installation typically follows these stages:
- Site preparation
- Protect flooring and landscaping
- Deliver equipment and verify model and serial numbers
- Remove old equipment (if present)
- Recover refrigerant properly following EPA regulations
- Disconnect electrical and refrigerant lines safely
- Outdoor unit placement
- Set level concrete, composite, or rooftop pad
- Secure unit with anti-vibration pads and storm straps where needed
- Indoor unit and ductwork integration
- Install air handler, evaporator coil, or indoor unit
- Repair, seal, and insulate ducts; add return pathways if required
- Ensure proper condensate drain and trap installation to prevent backups
- Refrigerant piping, brazing, and insulation
- Route, braze, and pressure test lines
- Insulate suction lines to prevent sweating and performance loss
- Electrical connections and safety devices
- Connect to dedicated branch circuit, install disconnect, and verify grounding
- Add surge protection if recommended for storm-prone areas
- Evacuation and refrigerant charging
- Evacuate system to the correct vacuum level, test for leaks, and charge to manufacturer specifications
- Commissioning and controls setup
- Configure thermostats and system settings
- Verify airflow, refrigerant pressures, and system safety interlocks
Safety, code compliance, and certifications
Installations must meet Florida building codes and national electrical and refrigerant regulations. Typical compliance items:
- Proper permits and inspections per local jurisdiction
- Certified refrigerant handling by technicians with EPA Section 608 certification
- Electrical work consistent with the National Electrical Code and local amendments
- Secure mounting and hurricane-resilient attachments for outdoor units where required
- Pressure testing and leak-checking to prevent refrigerant loss and environmental harm
Keeping documentation of permits and inspection sign-offs is essential for warranty coverage and future property transactions.
Quality assurance testing and handover
After installation, quality checks confirm performance:
- Measure supply and return temperatures to calculate temperature split
- Check static pressure and airflow to confirm duct system balance
- Test superheat and subcool values for proper refrigerant charge
- Run the system through multiple cycles to verify dehumidification performance
- Confirm thermostat calibration and zoning control operation
Technicians should register manufacturer warranties during handover and explain basic system operation, filter access, and maintenance points to the homeowner.
Manufacturer warranties and documentation
New systems include manufacturer warranties for parts and sometimes compressors. Proper installation and timely registration are often required to maintain full warranty benefits. Keep all installation paperwork, model numbers, and service records for warranty claims and future service.
Post-installation maintenance recommendations for Winter Haven homes
To protect your investment and maintain efficiency in Winter Haven’s climate:
- Replace or clean filters every 1 to 3 months depending on use and indoor air quality
- Schedule annual or biannual tune-ups focused on coil cleaning, refrigerant level check, and electrical inspection
- Seal and insulate ductwork to reduce energy loss and improve humidity control
- Ensure condensate lines are clear and have proper traps to prevent mold and water damage
- Consider a programmable or smart thermostat that reduces runtime while managing humidity
- Add surge protection for electrical storms common in Central Florida
- Keep outdoor unit clear of debris and allow airflow by trimming vegetation and keeping the area shaded where feasible
Benefits of a professional, climate-aware installation
A correctly selected and expertly installed AC system tailored for Winter Haven delivers:
- Improved comfort with better temperature and humidity control
- Lower energy bills through efficient operation and reduced cycling
- Fewer emergency repairs and extended equipment lifespan
- Better indoor air quality through proper airflow and filtration
- Warranty protection and peace of mind from code-compliant work
A thorough pre-installation assessment, accurate sizing, quality installation practices, and regular maintenance are the keys to reliable cooling in Winter Haven, FL homes.

Service Areas
